There is nothing magical about measuring
for a shower enclosure. There are a couple of things
which need to be understood to make sure the unit
is manufactured for a precise fit. The manufacturing
tolerance is to the 1/16th of an inch, and each panel
of glass is manufactured to fit the space. If you
have a shower opening where the opening is larger
at the top than at the bottom, then the glass will
be made larger at the top for a precise fit.
1) To
get accurate measurements the tile or marble must
be completed before the measurement is taken. This
means at the time you measure you are ready to start
the install. Our fabrication time is approximately
two weeks, and shipping typically takes two days on
the West Coast and five days to the East Coast.
2) Using
a glass marker put small marks on the tile where
you want the unit to set. Make sure the marker
you use can be washed off the tile, and mark
on the tile not in the grout lines. Generally
a unit is installed in the center of the curb, not on the outside edge.
After you have your marks on the tile consider
the aesthetics of how the unit is positioned. If you have a part of the unit half covering
a grout line you may want to move it one way
or the other. Check for clearance for the door
to swing. Building codes require the door swings
out, but most of our Euro Frameless units can
swing into the shower as well.
You can specify the height of the unit to be what ever you want, but 72 inches is the most commonly specified height. The general
rule is to go at least as high as the shower
head. The hardware should not be seen
over the top of the unit. Normally the door is mounted on a 4-6" curb, so if you are measuring for an ADA barrier free shower which doesn't have a curb you should be making the enclosure 76-78" to achieve the same coverage. If your tile doesn't go to the ceiling don't take the
height right up to the top of the tile,
or try to line up a the top with decorator
tile. You may have a perfect match on one
side, but be off by a 3/16" on the
other side. Your eye can see this difference,
but if you back off a 1/2" the deference isn't
as noticeable. If there are mirrors in the
bathroom check how the unit will look in the
mirror. |
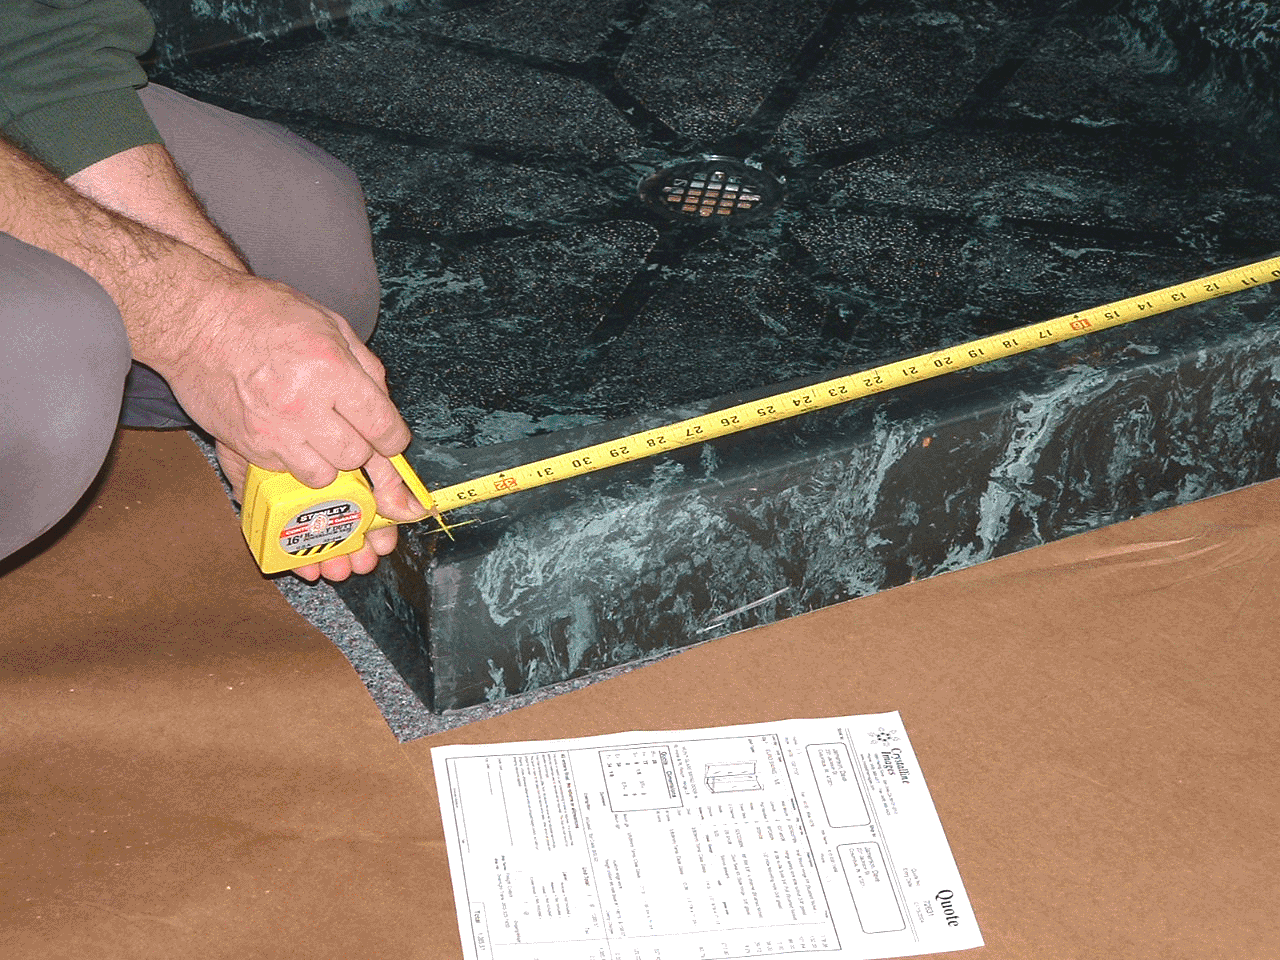 |
Measuring
wall to mark |
|
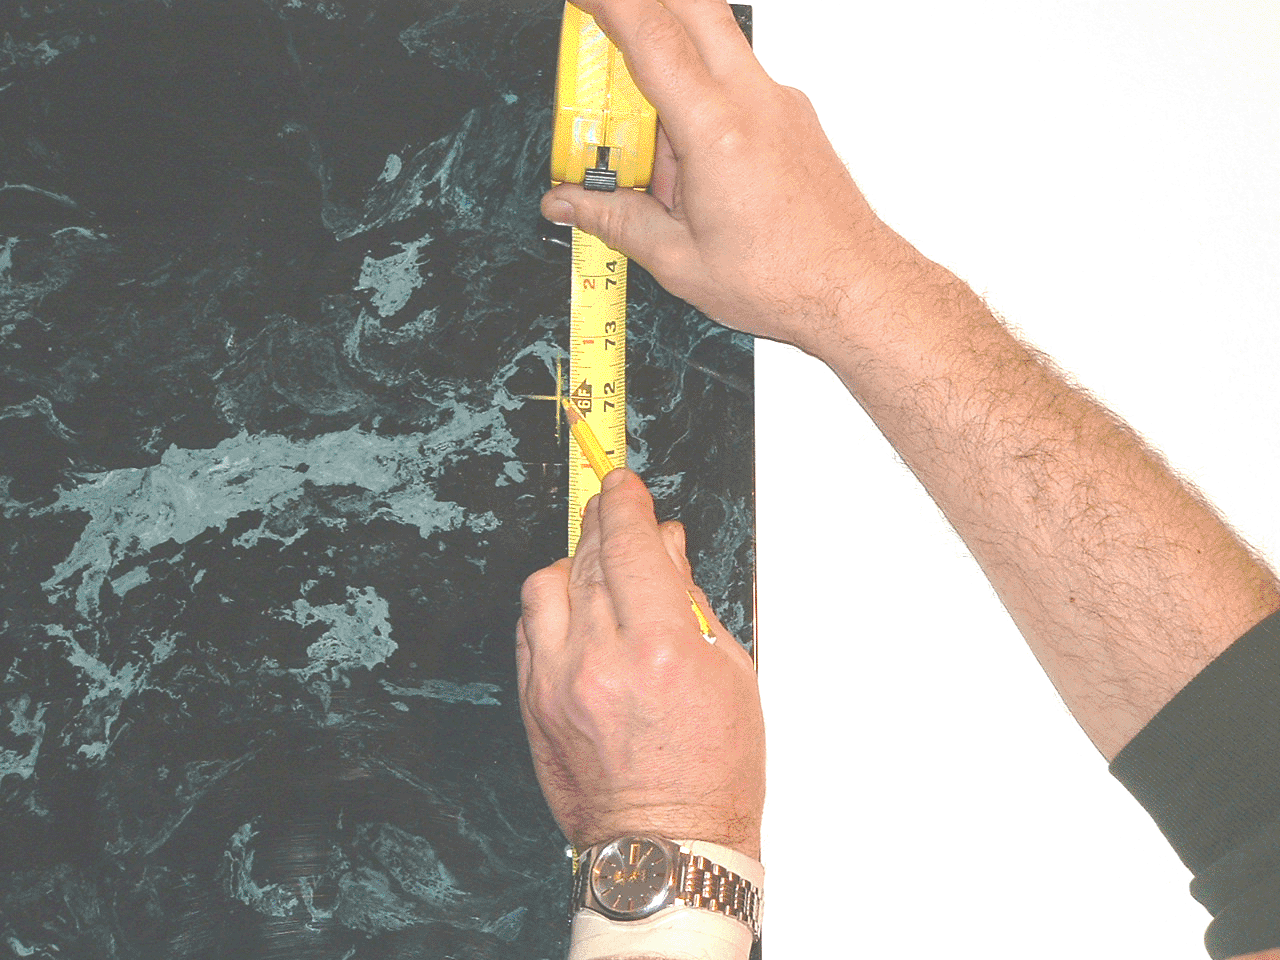 |
Marking
Height |
|
3) Use
the layout guide to select
the appropriate measurement sheet to record your measurements.
As you fill out the measurement sheet pay attention
to the minimums and maximums on the sheet. These limits
come from engineering limits of the hardware, and
fabrication limits for safety tempered glass. The
measurements at the top of the unit are just as important
as the measurements at the bottom. It is a good practice
to use a wide measuring tape or to have some help
with the top measurements. Make sure the wall surfaces
are straight, and check for fall-in or fallout. Watch
out for a kick-in on the bottom tile on each wall.
Check to make sure the curb is level from one side
to the other and has a slight slope (1-11/2 degrees)
into the shower.
|